 PatentDraw
Variations per task
Generate several takes on one description and compare layouts side by side before committing to a direction.
Write what the figure should show — components, connections, steps, labels — and PatentDraw drafts it as a structured technical figure. Improve the prompt, regenerate, and compare until the layout is right.
Describe your invention and set the output
Everything in the workspace exists to shorten the distance between a written description and a figure you trust enough to review.
Generate several takes on one description and compare layouts side by side before committing to a direction.
Rewrite the description — tighter labels, a different view, clearer relationships — and regenerate only what changed.
Attach an existing sketch or figure so layout and visual context carry over into the generated draft.
Finished drafts are stored in your workspace as downloadable materials at up to 2880px output.
The workspace keeps the loop tight: write, generate, compare — and keep technical review in your hands.
Name the parts, describe how they connect or run, state the view you want, and mention labels that must appear.
Pick high or standard resolution, output shape, an optional reference image, and how many takes to generate.
Weigh the variations against each other, sharpen the prompt where needed, and download the keeper from your workspace.
Start with a clear description and let the figure type guide the layout.
Compare these weak and strong prompts — copy a strong one into your next task as a starting point.
“Draw a patent diagram of my weather station invention.”
“Block diagram of a weather station: outdoor sensor unit (102) sends radio data (110) to indoor console (104), which connects to a cloud server (106) through a Wi-Fi module (108). Show every connection path.”
Why it works: named parts, reference numerals, explicit connections, and a stated figure type.“Make a flowchart for my method.”
“Method flowchart with decision points: receive user input at S102; validate credentials at S104; if valid, load dashboard at S106; otherwise display error at S108; end at S110.”
Why it works: numbered steps in order, an explicit decision branch, and defined start and end.“Draw the parts of my handheld scanner.”
“Perspective view of handheld scanner (100) showing trigger (112), scan window (114), and battery compartment (116), with lead lines from each numeral to its part.”
Why it works: one stated view, numerals for every part, and lead-line instructions.These examples show the kinds of technical figures you can use as a starting point. Open any image in a new tab to view it at full size.
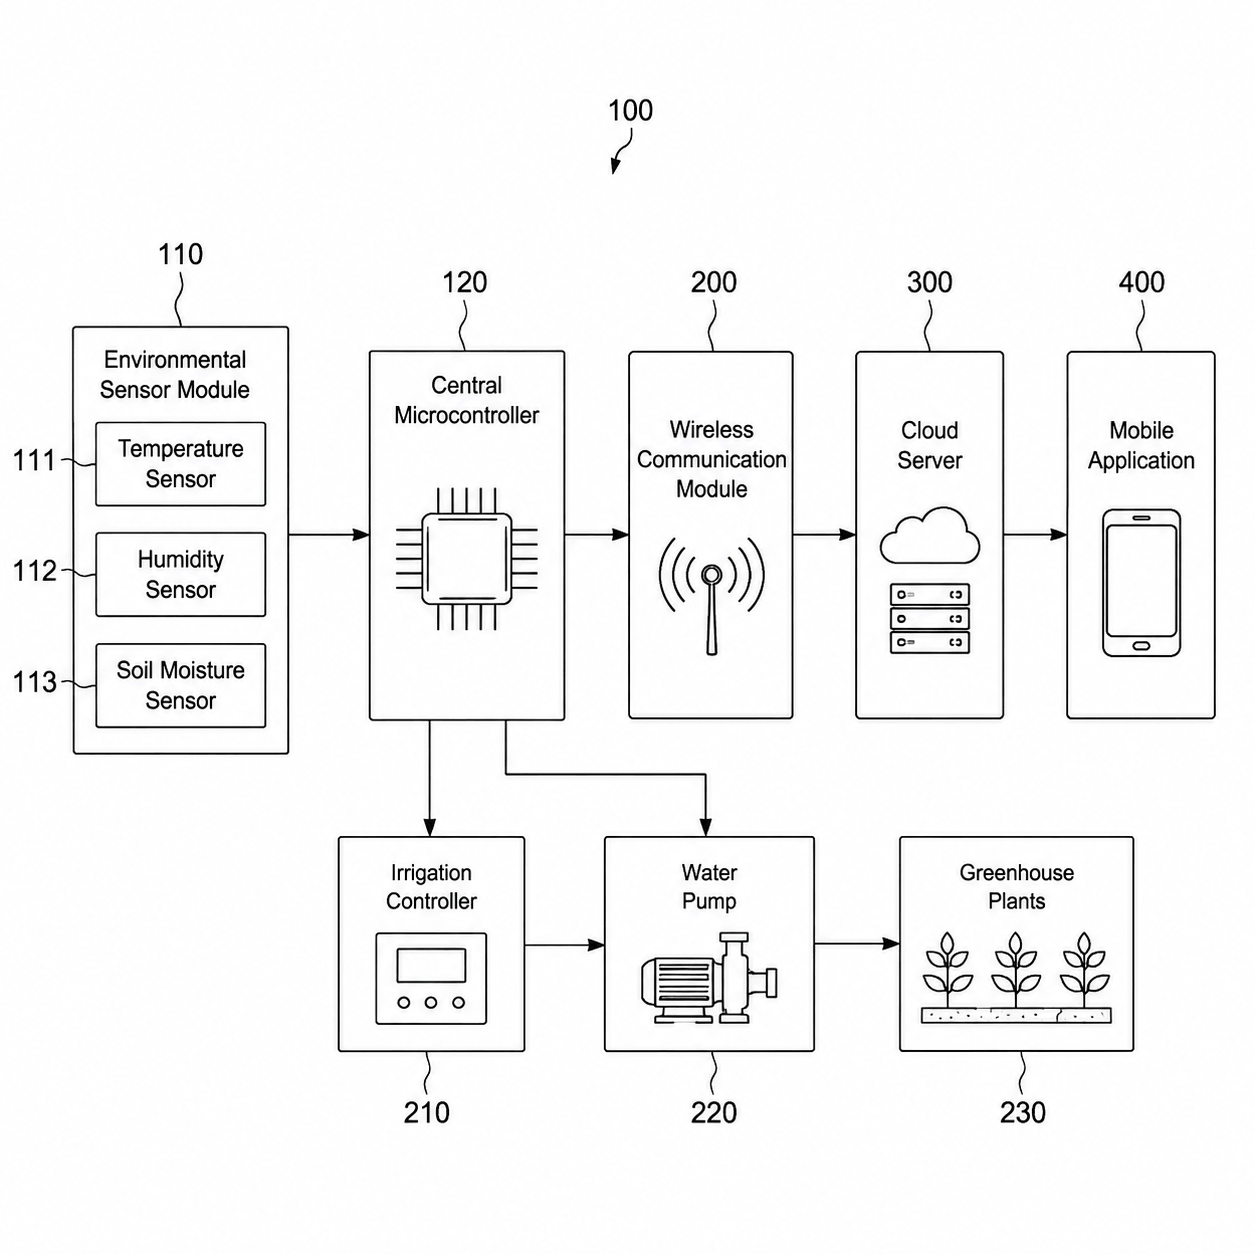
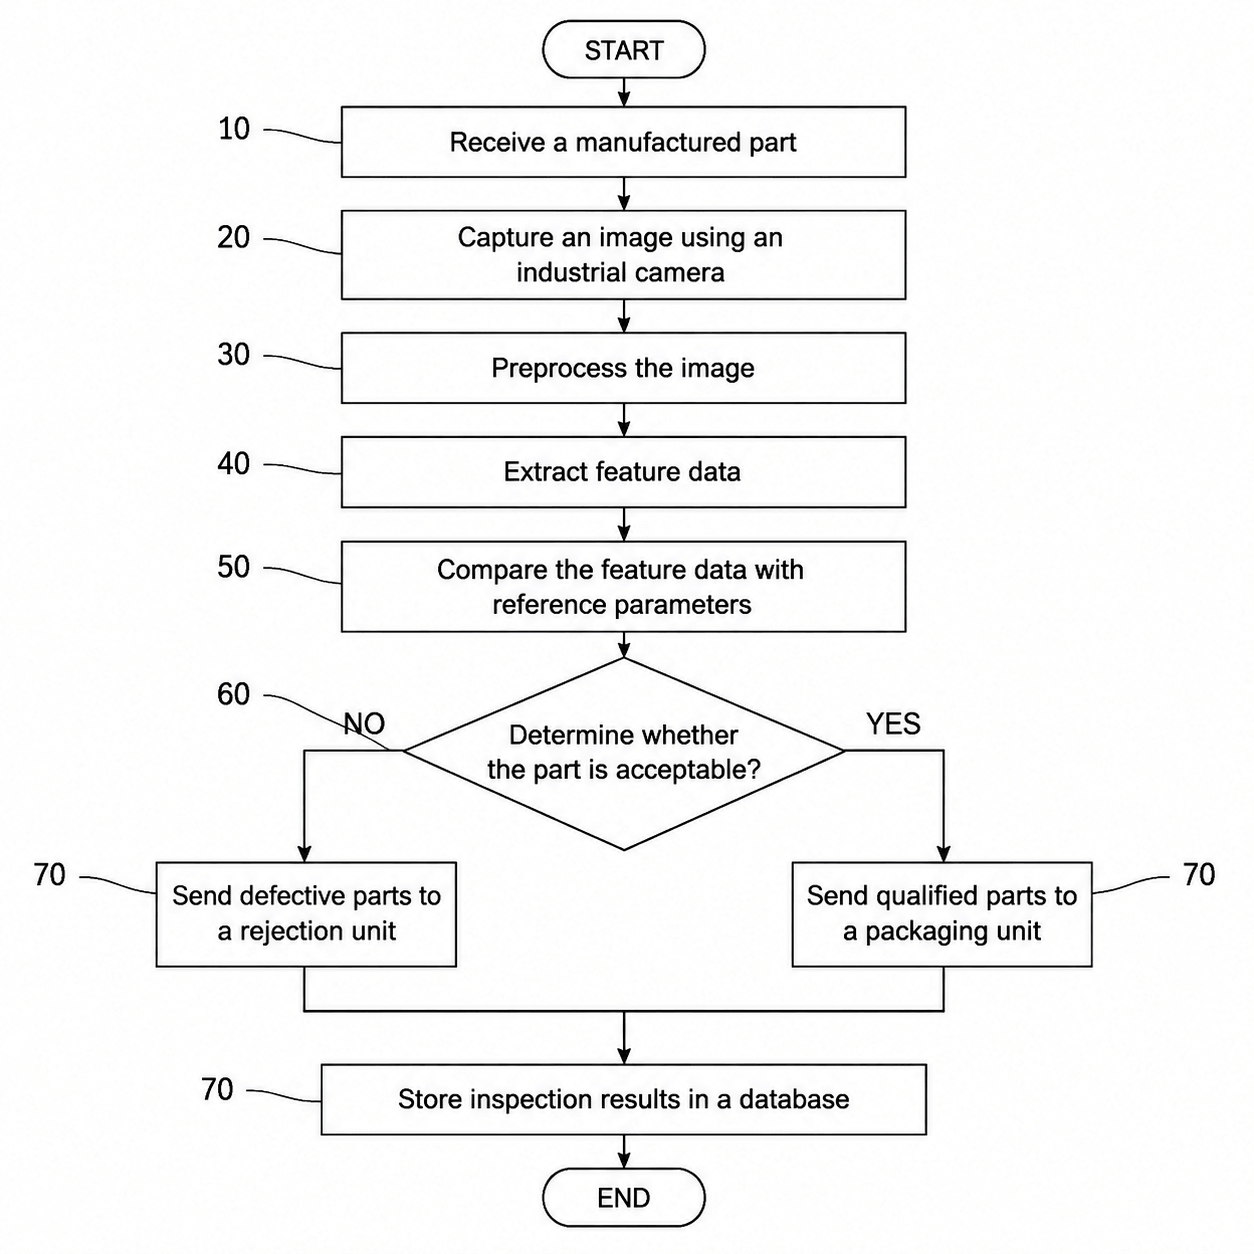
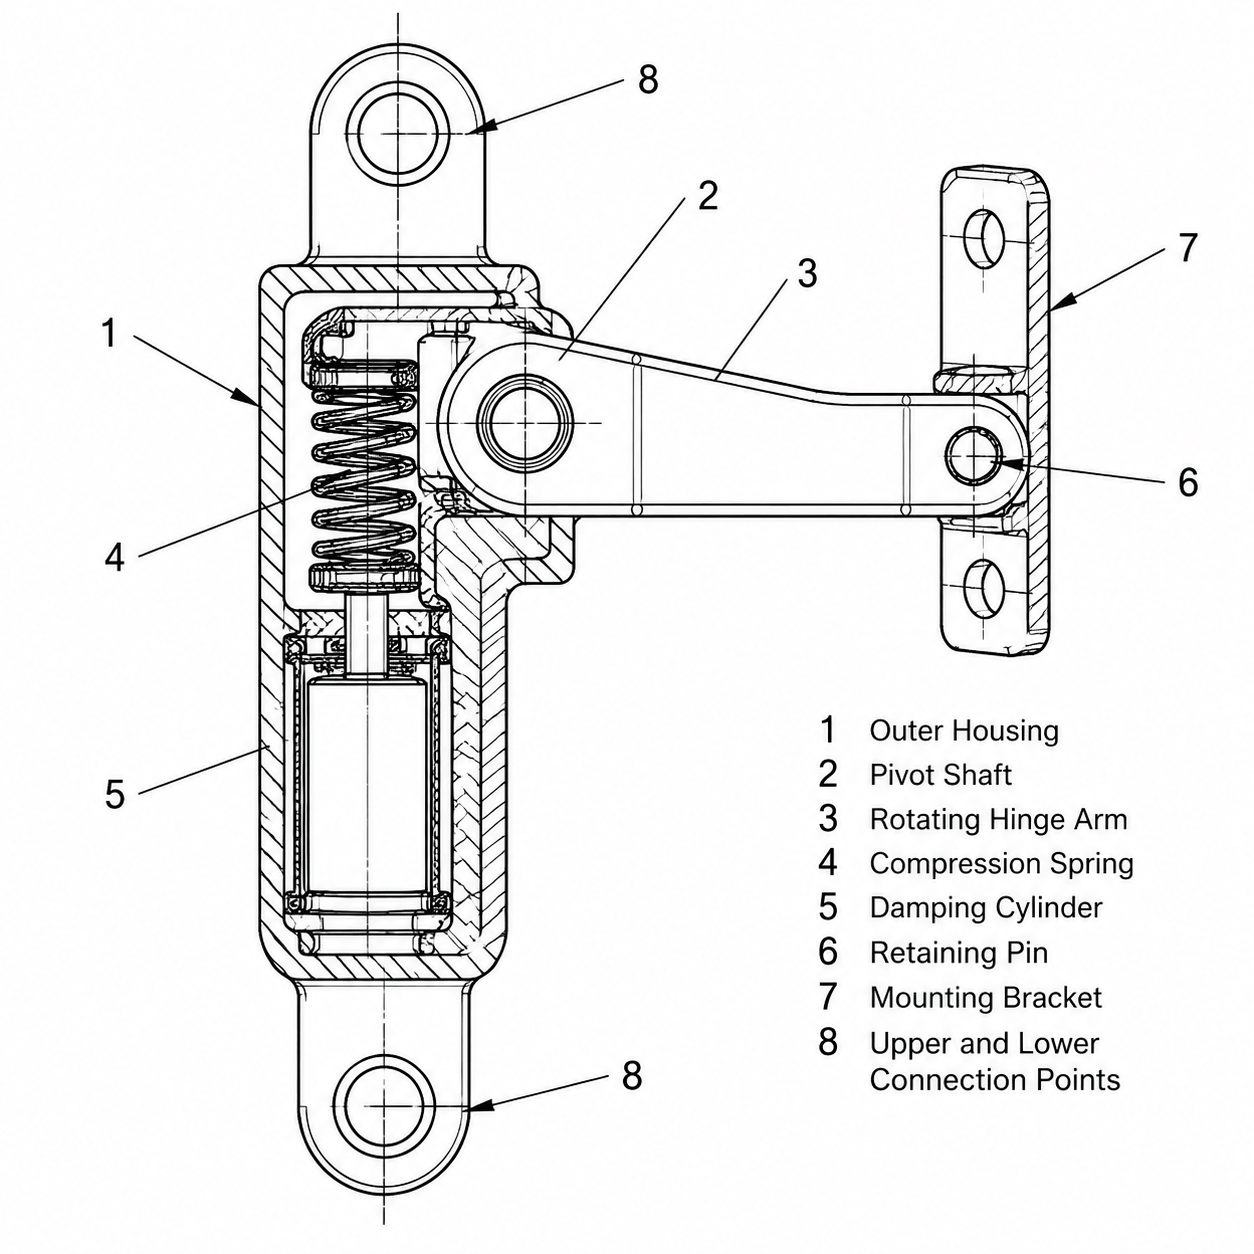
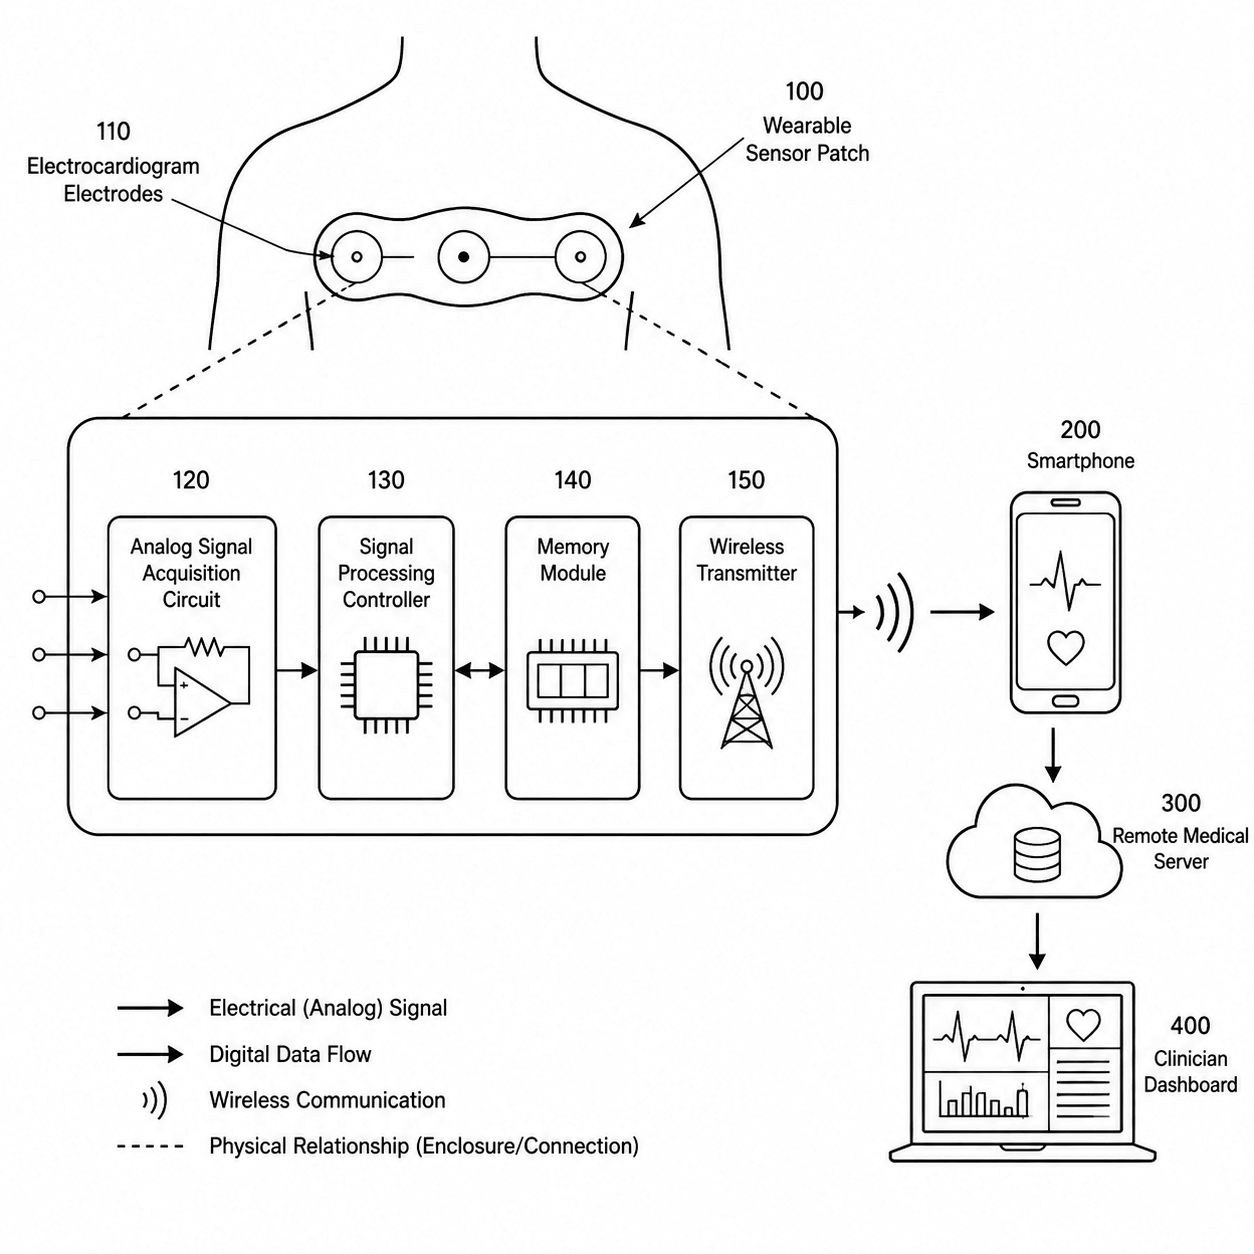
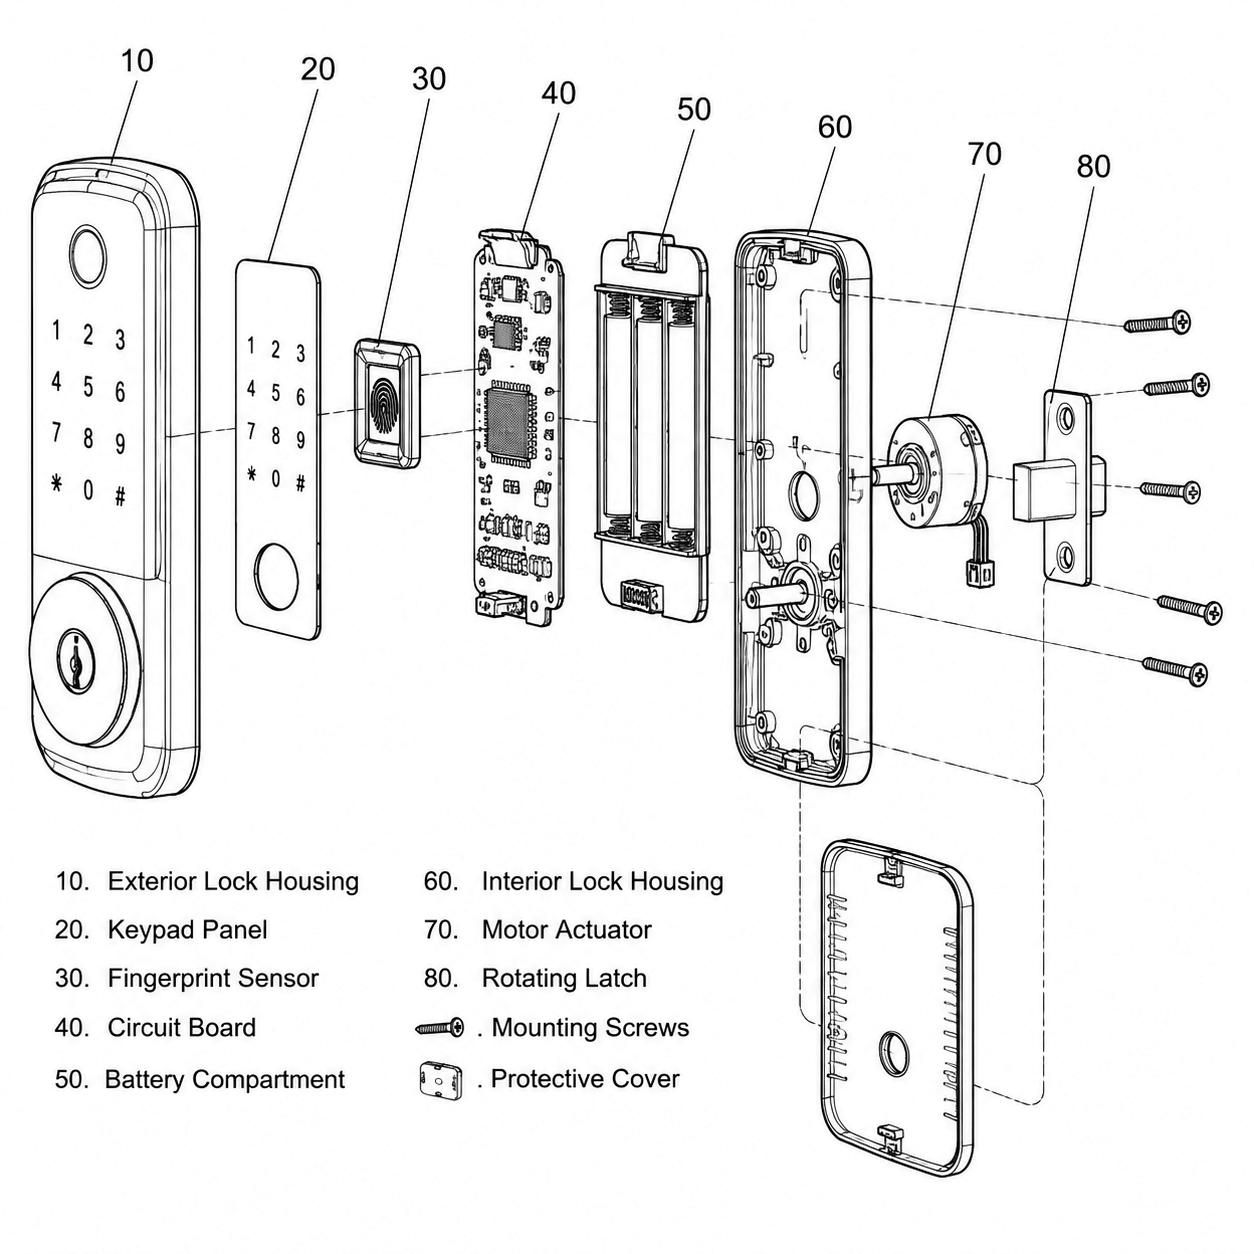
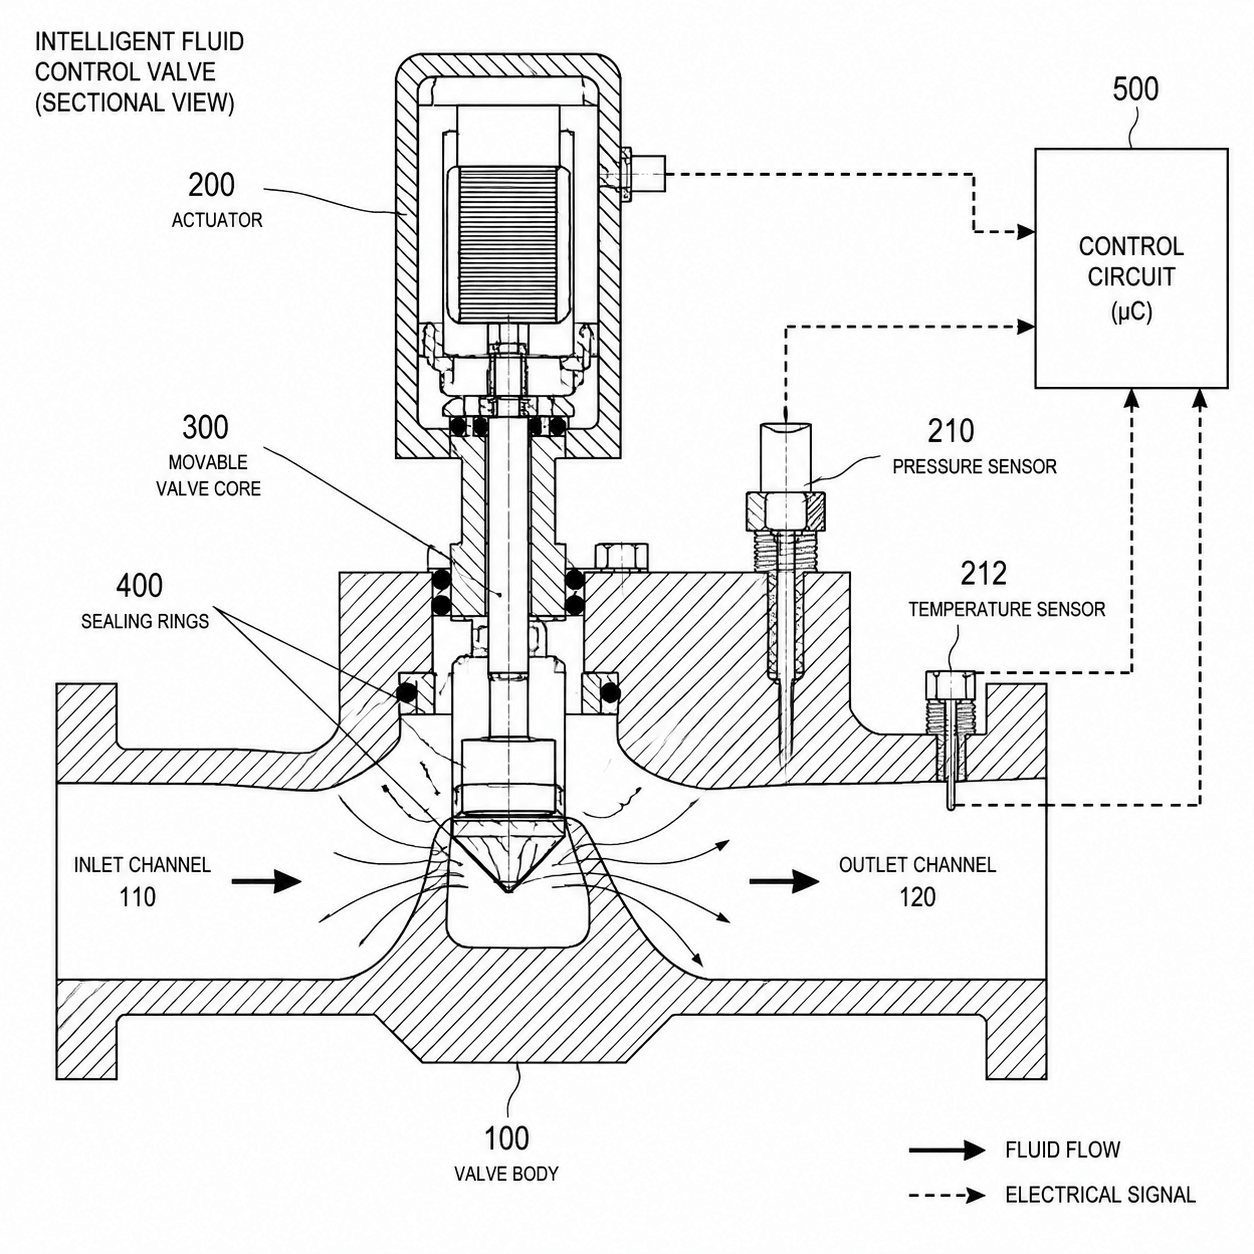
Each variation uses 10 credits. New accounts receive 10 free credits, so you can test the workflow before choosing a package.
Include the relationships, labels, and constraints that matter instead of relying on a generic image prompt.
Try different views or instructions and compare variations inside your workspace.
Check accuracy, terminology, numerals, margins, and filing requirements before using a result.
Completed projects are available from your workspace as downloadable materials.
Create an account, receive 10 free credits, and start with one focused patent figure.
Start with free credits